Creator of Dragons!
It has definitely been a little while from when our last blog was created and in that time much has changed! This blog will be an insight in how we became the creator of some awesome dragon skulls and how much it put our skills to the test!
The idea of creating these skulls was jump-started at For the Love of Fantasy in 2019. Prior to this we had been flirting with the idea of making something large that wasn’t a one off like our Grim Reaper prop but we couldn’t figure out what we wanted to make. At the event we were approached about the possibility of us making some dragon skulls for another company, after some discussion we realised that this was the idea we had been waiting for, so we jumped at the chance! What we did not realise at the time was just how challenging this build would be.
The final build for our dragon skull measures in at roughly 80cm long, 60cm wide and 40cm high. Usually molds of this size are made using fibreglass but we wanted to see what we could do with silicone. The skulls are created from the same foam as our other skulls, which allows them to be very durable but also extremely light. When we first started sculpting and planning for the skulls we had only a basic shape and size in mind and as the build progressed we very quickly realised this was going to be a much more complicated build than we first thought. For one thing, the horns on the back and sides of the skull would be almost impossible to mold using the same method that we had used for our previous skulls, as they would have created incredibly weak points in the silicone. This would mean the mold would have had a very limited life span of maybe only around 20 skulls…definitely not cost effective when we figured out exactly how much silicone it was going to require! (15 litres of the stuff!)

Melissa applying layer 3 of the silicone mold
So…how would we combat this issue? Well, the answer that we were seeking didn’t come from the molding process, but actually from the foam that we planned to use for the skull! This foam is very forgiving when it comes to making repairs or fixing weak points, you can add to something you have already made with fresh foam. This means that we could create the horns separately and then attach them later! All we would have to do is create some anchor points in the form of the ridges around the base of each horn and then mold each size of horn separately meaning we ended up with 6 individual silicone molds to create the skull. This solved both our weak point issue and the problem of gravity, there was no way we would be able to get the silicone to hold onto the underside of the rear horns long enough for it to dry and make a workable mold!
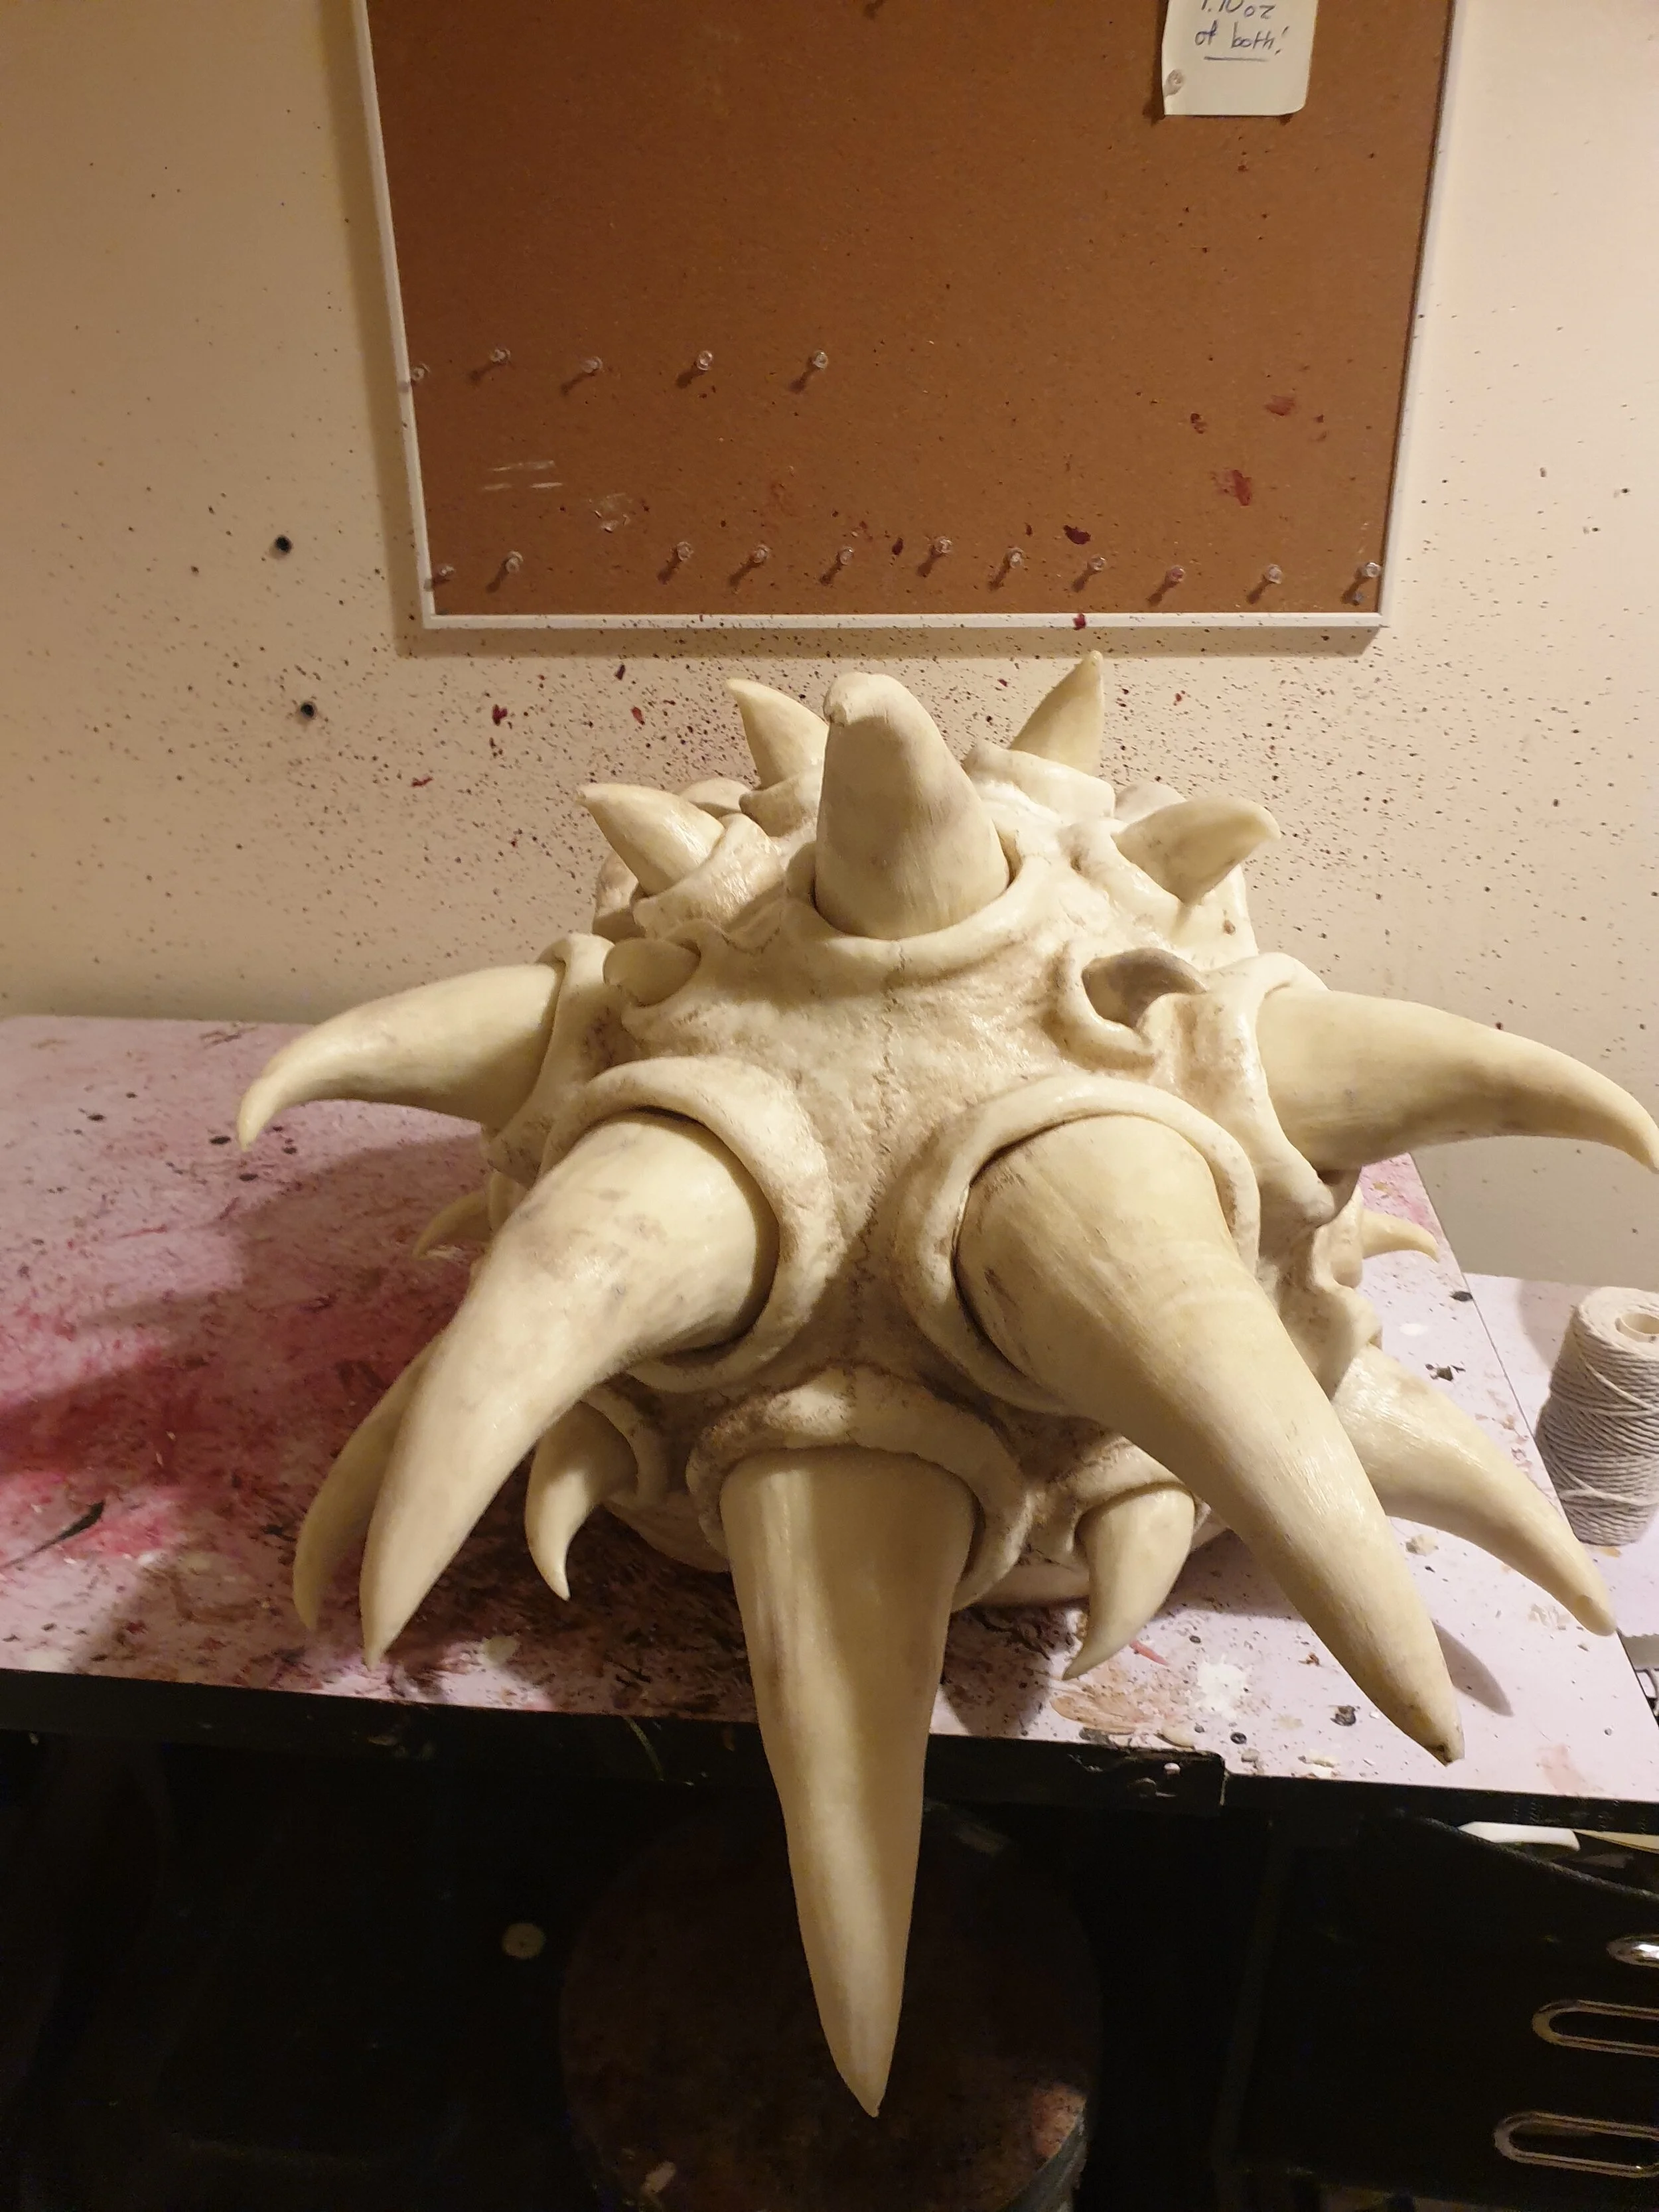
The rear of the horns, showing how difficult it would be to make one complete mold!
With these issues solved and the sculpture of the skull itself now complete after around 3 weeks of sculpting time we thought our issues would be over and the easy part would begin! Yep you guessed it….we were wrong about that one!
As we said before in order to make the mold of this huge skull, we ended up using around 15 litres of silicone to give us around five different colour coded layers on the skull itself. Aside from the first two layers which are fairly thin each layer has a thickening agent added to the silicone, this adds strength to the outer layers which in turn protect the structure and durability of the mold….but it also adds size onto what it already a large sculpture and to top it off we add a multi-layer plaster wrap to the outside of the mold as well. The reason for this outer layer is that we use expanding foam for our skulls. If we were to leave the silicone mold without a wrap then every skull we make would be distorted as the foam expands and this effect is only be magnified by the sheer size of the mold that we were creating!

The plaster wrap with the clay sculpture inside was so heavy we had to move it to the floor because we were worried about the weight on our sculpting table!
If you have come along and met us at events where we allow customers to make a skull with us you will have seen our standard skull molds, they are small and light. Easy for one person to manipulate the foam inside to pick up all of the detail. When Kenny went to make the first of our dragon skulls his first challenge was that he was going to be making the first attempt by himself…and this mold is very heavy when you have to lift it full of foam and move it all around the mold! He also quickly found out that because of the size of the mold, when he went to move the foam around the sides then the opposite side would fold in on itself…an issue easily fixed when the mold isn’t full of quickly expanding foam that has a limited time for moving it around to pick up all the detail! We honestly think that he was successful with that first attempt through sheer determination in the end!
So, lessons had been learned! We definitely needed two people to create this monster due to its weight. We would need to use clamps on the silicone to prevent the sides of the molds from collapsing in on themselves during the detailing of the skull and we were also going to need to reinforce the outer plaster wrap as it had begun to fray from only the first pull due to the stress being placed upon it. Armed with these new tactics and updated plaster wrap we attacked the second skull to be created. This one turned out to be a much less stressful experience and went off pretty much without a hitch especially when we took advantage of the foam we are using. We poured the skull in stages instead of all at once, allowing one area to start to dry and expand before pouring fresh foam in and then moving to the next area.
Compared to the actual physical construction of the skull and molding process, painting was a breeze…time consuming because of the size but much more enjoyable and we were finally able to see the skull begin to appear in all its glory. We had come a long way in what had become a month long construction project and we had come out of the other side more skilled mold makers and definitely better at problem solving. Using silicone for such a large mold is possible but definitely challenging and a risk if you can’t afford to make mistakes (imagine wasting 15 litres of silicone… not good for the bank balance!)

Melissa with the first dragon skull mounted on our wall!
If you are new to mold making definitely start small and make sure that you can afford to waste the cost of materials for your creation. We have been mold making for almost 10 years and this was the most challenging mold we have made so far, it kept us on our toes the whole way through but at the end of it we can now offer you some absolutely stunning dragon skulls which are light enough to be mounted on a wall for a fantastic price due to the materials we chose to use!
If you have any questions on anything we make or you have an idea of something you would love to see then please done hesitate to ask…as you can tell from this…we love a challenge!!
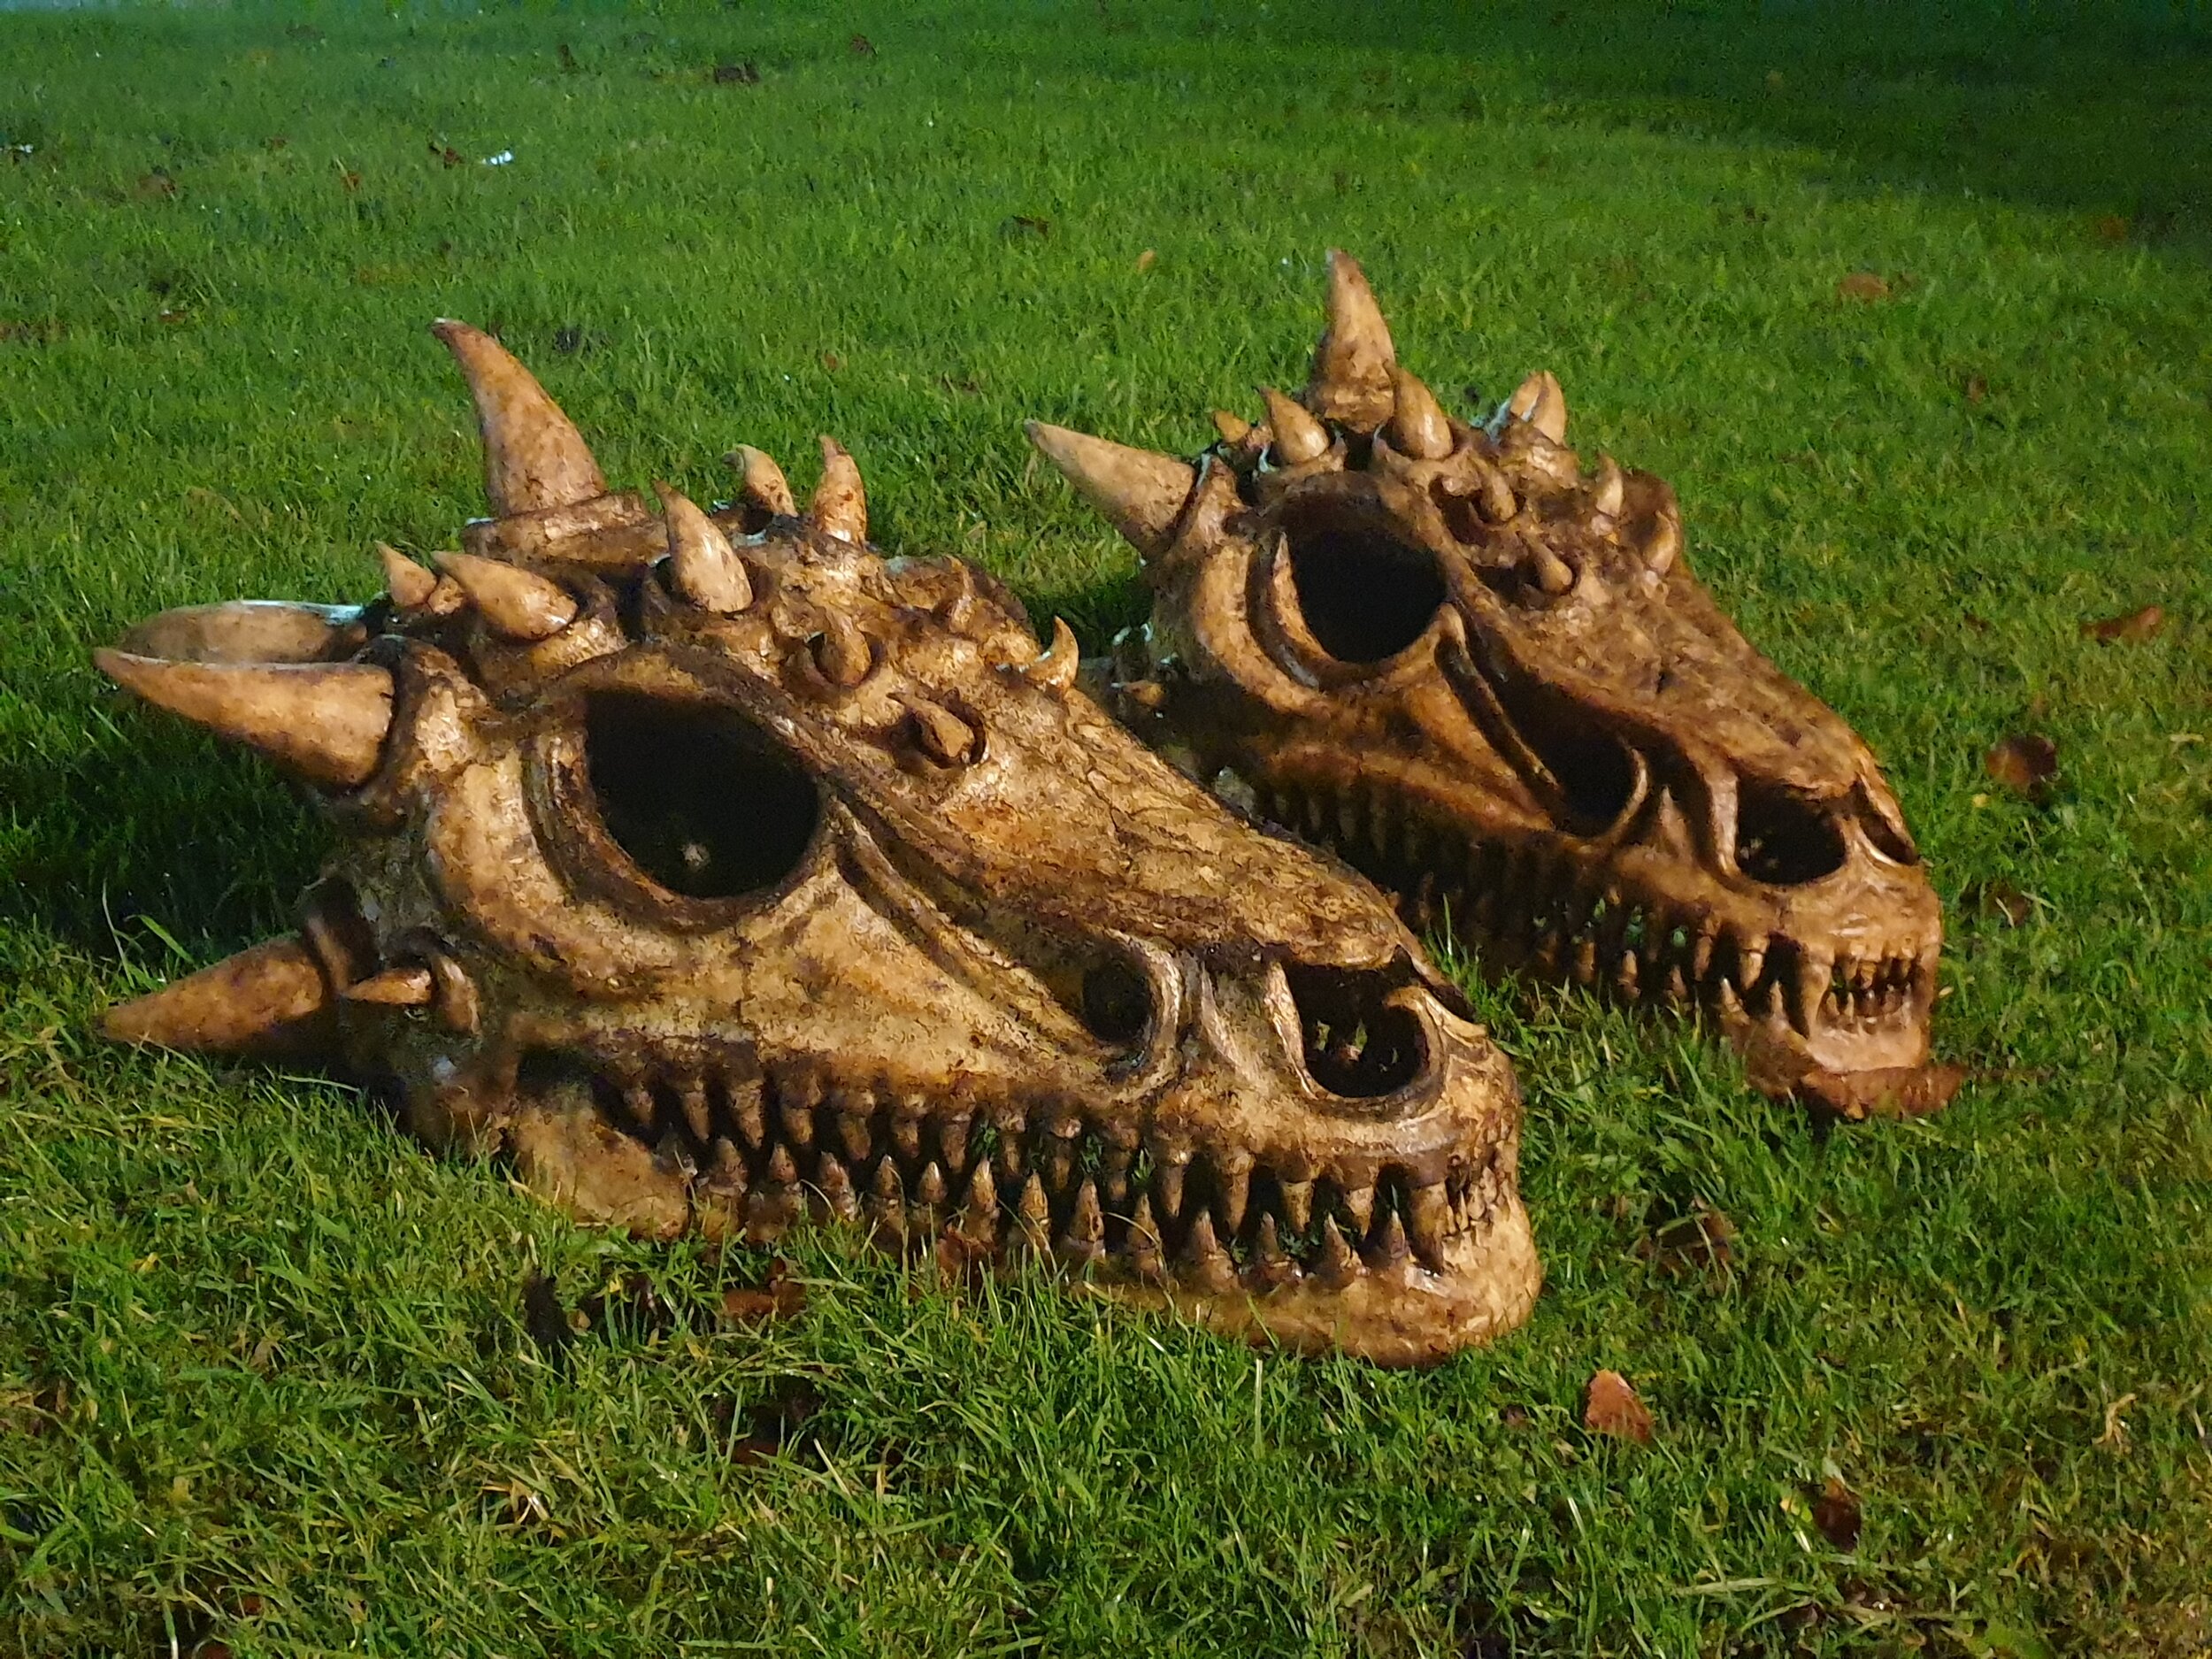
The first two completed skulls ready to be shipped out to their new owners!